From OpenSPIM
Welcome to the OpenSPIM alignment guide!
There are different ways how to optimally align an OpenSPIM system and it can take time to get the hang of it. With two illumination sides and two detection objectives, as it is the case in an X-OpenSPIM, this task becomes particularly challenging. This site aims to provide a simple, reproducible way of how to...
- initially align the beam path along the rails (Part 1)
- visualize and tune the beam within the field of view of one or two cameras (Part 2)
- fine align the light-sheet for the sample using beads (Part 3)
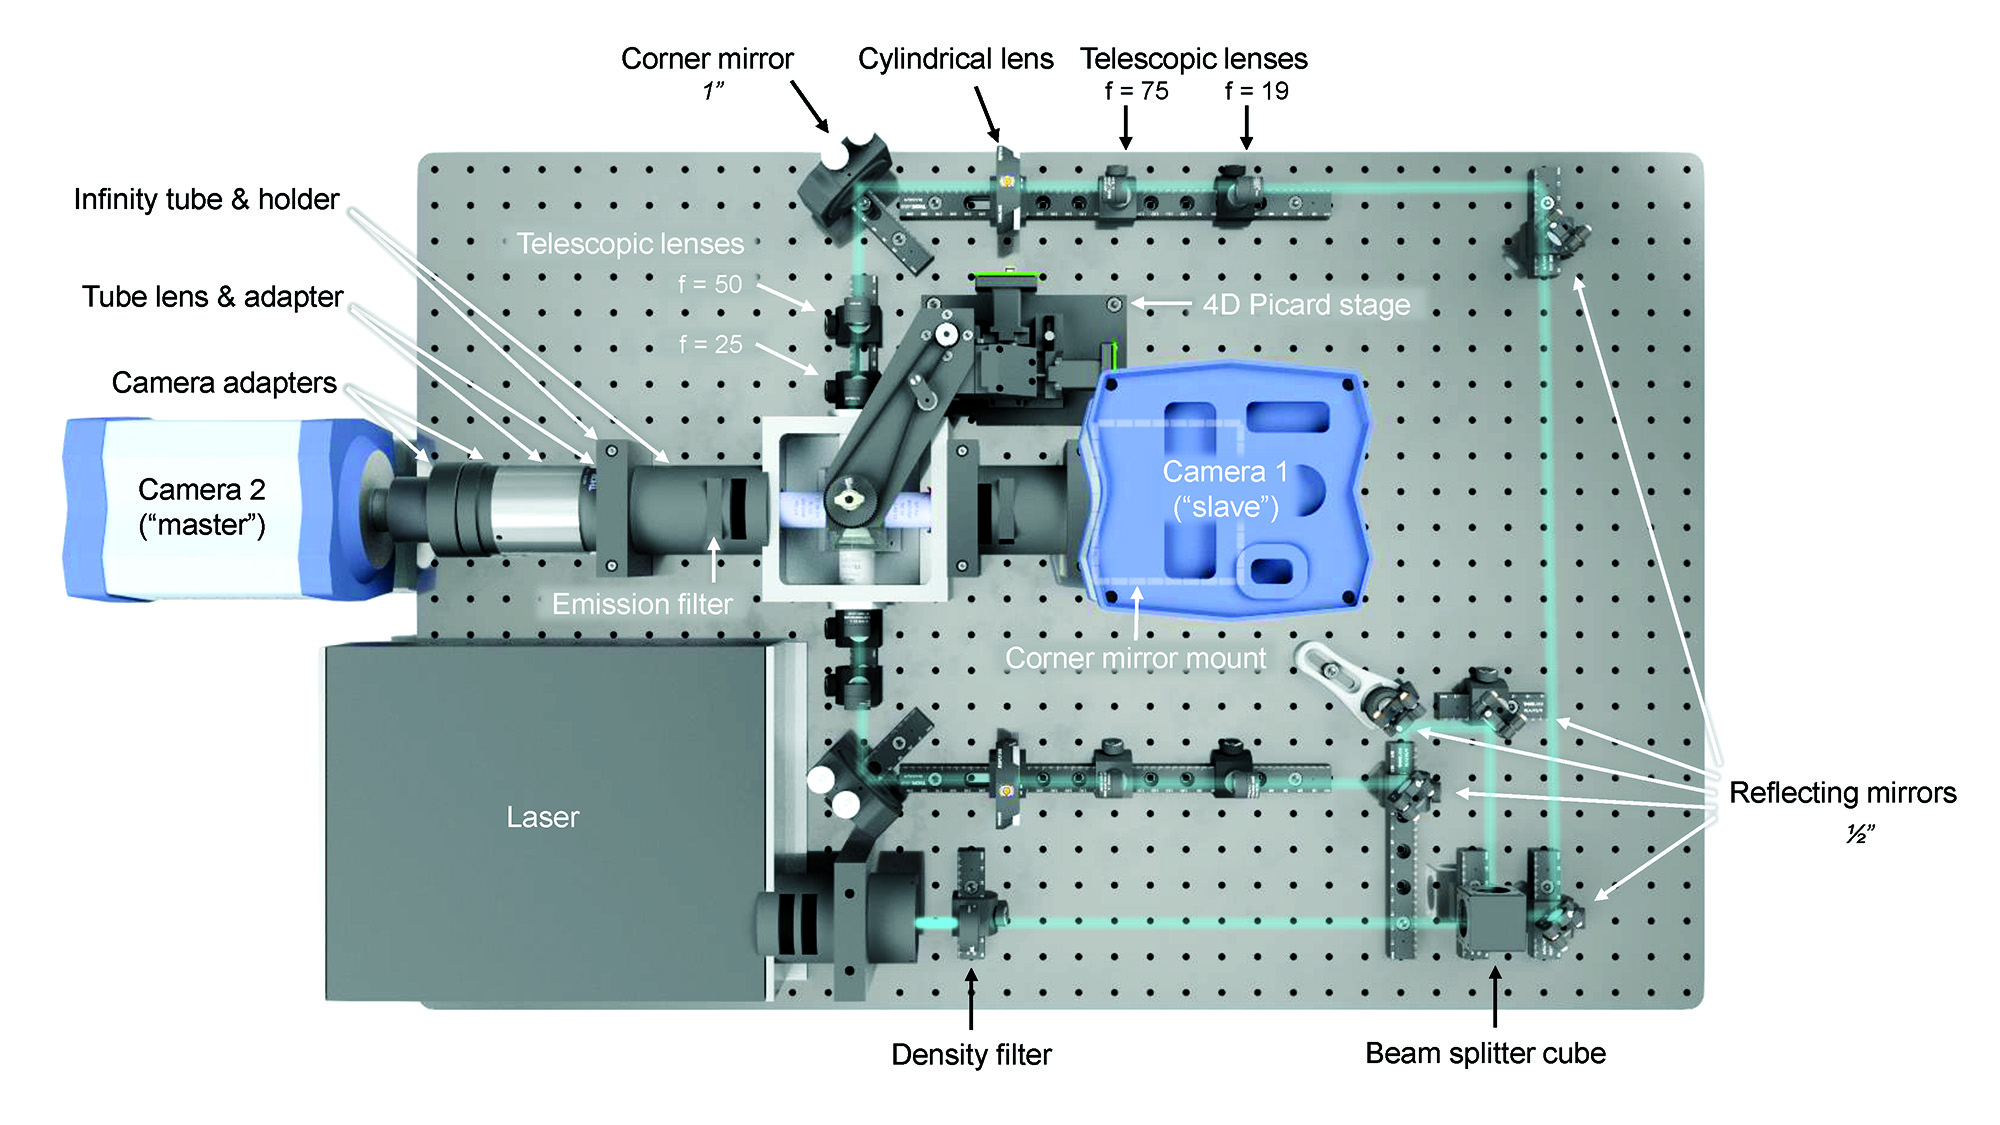
The alignment guide was initially written for a X-OpenSPIM publication (2021) but can be applied in very much the same way to any L-, or T-OpenSPIM configuration. All renderings have been created by Charlène Brillard (Tomancak Group).
Requirements
- Make sure appropriate laser safety measures and training have been carried out and that µManager’s “Hardware configuration wizard” has been completed for at least one camera, one laser and the USB-4D stage.
- A syringe to mount a glass capillary into the acquisition chamber. The capillary should be filled with agarose containing fluorescent beads which can be excited by the laser in use.
- In case of an X-OpenSPIM acquisition chamber, modifications are needed to allow additional adjustments of the detections objectives (see chamber parts here)
Click here to start with part 1 of the alignment guide
