Installing detection axis on the optical breadboard
Assembly of detection axis
Installing the detection axis holder base
Objects needed
- 1x detection axis holder base.
- 2x M6 x 25 mm capscrews
Tools needed
- 1x 5 mm hex key/driver
How and where to install the detection axis holder base
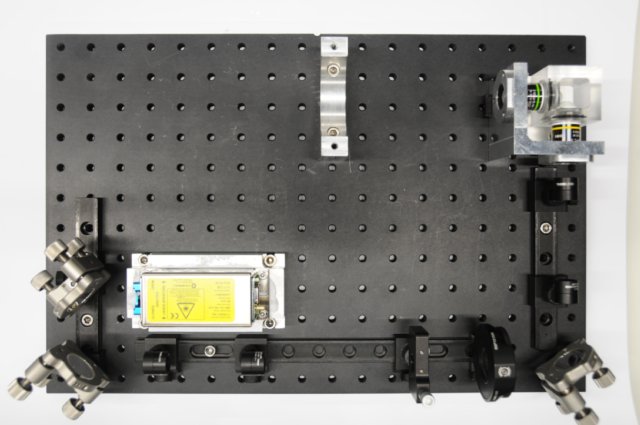
Place the detection axis holder base along the J column of M6 tapped holes, and line up the through holes with rows 2 & 4. Using the 5mm hex key/driver and the capscrews, screw the capscrews into the optical breadboard in both J2 & J4.
Installation of detection axis holder base
Installing the detection axis assembly
Objects needed
- 1x Infinity spacer tube
- 1x Olympus U-TLU tubelens
- 1x Olympus C-mount (either the U-TV0.5XC-3 or U-TV1 X & U-CMAD3)
Tools needed
- 1x 1.5 mm hex key/driver
- 1x 3 mm hex key/driver
How and where to assemble the detection axis assembly
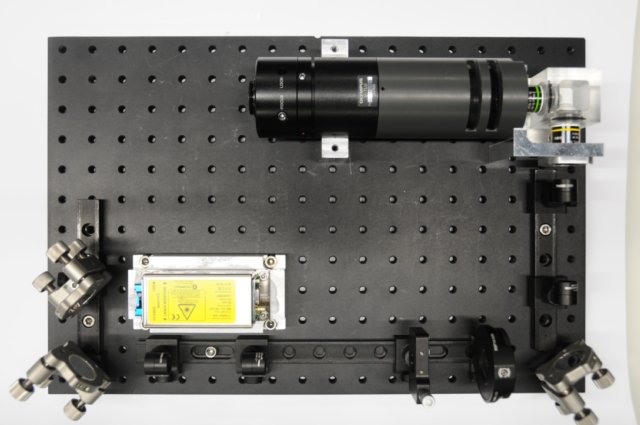
Take the infinity spacer tube with it's fully round open end and place it on the dovetail side on the Olympus U-TLU tubelens. Then using a 1.5 mm hex key/driver, screw the three opposing (120 degree apart) setscrews around the dovetail to fasten the two pieces together. Attach the Olympus C-mount to the tube lens and tighten it with the 3 mm hex key/driver.
Installation of detection axis
Camera installation
Objects needed
- 1x Digital Camera (i.e. Hamamatsu ORCA-Flash 4.0LT)
Tools needed
- 1x 3 mm hex key/driver
How to attach the camera to the tube lens via the C-mount and secure on the OpenSPIM breadboard
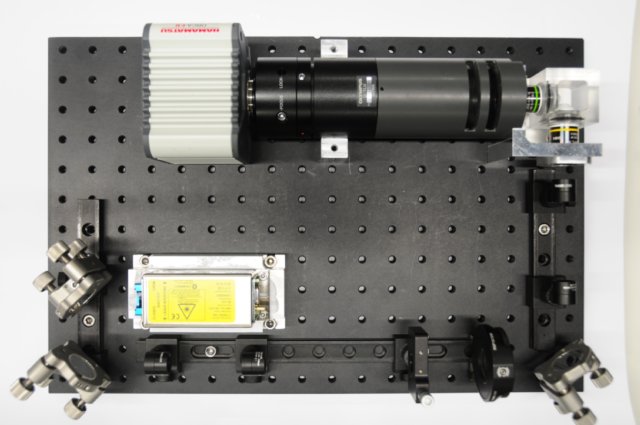
Depending on the size of the camera chosen for the system, it may be necessary to take off the C-mount using the 3 mm hex key/driver. Either way, screw the camera on to the c-mount attaching it to the detection axis.
Installation of detection axis holder top
Finishing up
Objects needed
- 1x Detection Axis Top
- 2x M5 x 50 mm capscrews
Tools needed
- 1x 4 mm hex key/driver
How to clamp down the detection axis assembly with the top piece
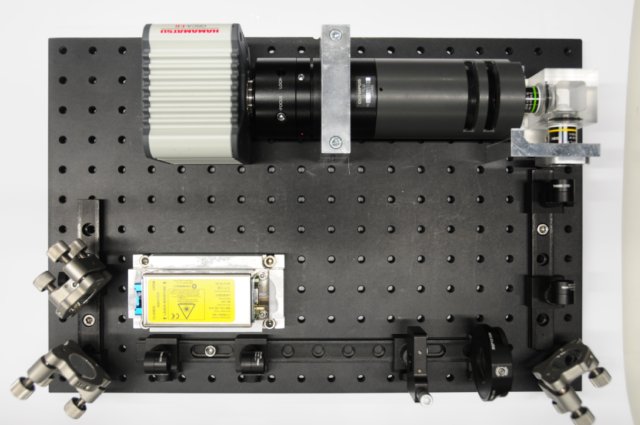
Place the detection axis top over the detection axis assembly so that the M5 cap thru holes on the top piece are aligned with the M5 threaded holes on the base piece, then using the 4 mm hex key/driver, screw in the M5 x 50 mm capscrews.


