Drosophila Embryo Sample Preparation
Note: This protocol is very detailed, suitable for researchers who do not necessarily have experience with handling Drosophila and performing wet-lab experiments. The idea is to have an easily accessible sample (most institutions have at least one drosophilist or we can send anyone the His-YFP flies) on which one can demonstrate the full functionality of the OpenSPIM system by collecting a long-term time-lapse.
For experts the basic idea is to embed the Drosophila embryos in agarose with sub-resolution fluorescent beads inside a capillary equipped by a plunger. How you get there may differ from what we usually do.
Materials needed
- apple juice plates
- fly cages
- dry yeast
- household bleach
- plastic sieves
- paint brush
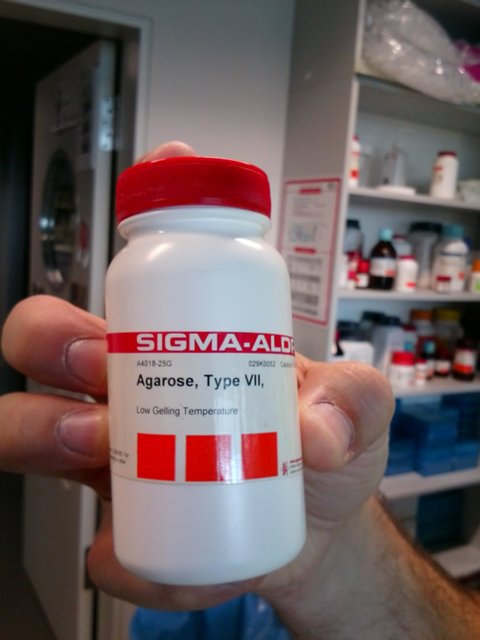
- low melting point agarose
- glass capillaries & piston rods "metal plungers"
- manufacturer: Brand
- accessory/spare part for Transferpettor
- distributed by VWR
| Glass capillary | Part number | Inner diameter | Outer diameter | Length | Piston rod | Part number |
|---|---|---|---|---|---|---|
| Transferpettor caps cert.10 µl orange | (701902) | 0.65 mm | 1.2 mm | 90 mm | Piston rod f.Transferpettor Fix+Dig.10 µl | (701930) |
| Transferpettor caps cert.20 µl black | (701904) | 1 mm | 1.55 mm | 90 mm | Piston rod f.Transferpettor Fix 10µl/Dig.25µl | (701932) |
| Transferpettor caps cert.50 µl green | (701908) | 1.5 mm | 2 mm | 90 mm | Piston rod f.Transferpettor Fix+Dig.50 µl | (701934) |
| Transferpettor caps cert.100µl blue | (701910) | 2.15 mm | 2.75 mm | 90 mm | Piston rod f.Transferpettor Fix+Dig.100 µl | (701936) |
- plastic syringes
- B. Braun Omnifix F Solo 1 ml Syringe
- fluorescent beads
- Eppendorf tubes
- glass bottles with blue caps 100 and 500ml, glass beakers
- metal spatulas
- white plastic weighing baskets
- PBST (Phosphate buffered saline) with 0.1% Tween or Triton
- plastic syringe from Braun (Omnifix F 1 ml)
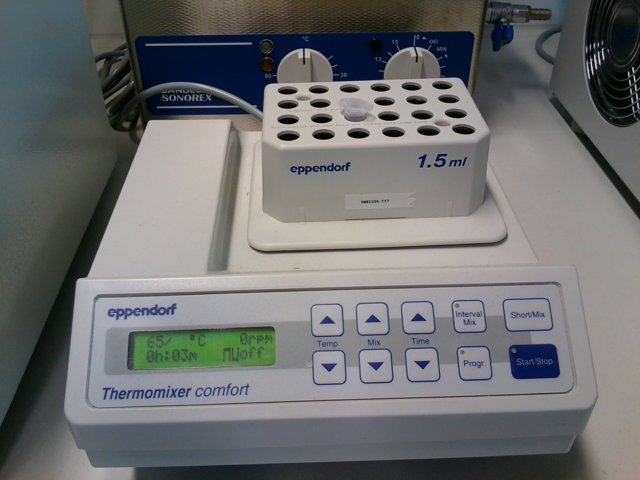
Equipment needed
- heat block with shaking
- vortex
- microwave
Embryo collection
-
Flies are attracted by the smell of fruit and eat yeast. In order to make them lay a lot of eggs in a way that they can be easily harvested we will use agar plates with apple juice smeared with freshly prepared yeast paste.
The apple juice plates should be available in any Drosophila lab. Yeast can be easily prepared by mixing dry bakers yeast with a bit of water in a plastic beaker and mold it with a metal spatula into a thick paste. Don't make the paste too watery otherwise flies will stick to it. Keep the yeast paste in the fridge in a large glass beaker covered with aluminum foil.
-
Next we set up a cage with a fly strain expressing fluorescent marker during Drosophila embryonic development. For example Histone-YFP fusion that will mark all nuclei. The bottom of the cage will be the apple juice plate with yeast paste. Put as many flies as you can find, but they should not be too crowded, i.e. having to crawl on top of each other. It will take some time for the flies to acclimatize to the cage (roughly one day) before they start laying eggs in earnest.
Getting the flies in the cage involves anesthetizing them with CO2 and pouring the sleeping flies from the bottles where they usually live in the lab into the cage.
-
In order to get embryos of a specific age, it is necessary to go through the so called pre-lays. Flies tend to hold developing embryos in their oviducts before depositing them. Fresh food stimulates egg laying. Therefore in the morning we will exchange the apple juice plate twice in one hour interval to clear the embryos held by the mothers overnight.
The change of the plate depends a little on the design of the cage. The general idea is of course to minimize the escape of the flies and escape they will try. The trick is to invert the cage, tap it quite strongly on the table which will bring most of the flies to the bottom and quickly swapping the plate.
-
The next apple juice plate will contain embryos that we want to image. If the cage is very crowded with healthy young flies (less than one week old), there will be plenty of embryos on the plate after one hour of collection. If the flies are old or sparse, we can let them lay for longer periods. For His-YFP flies it makes sense to start imaging them in SPIM starting at about 2 hours of development. Therefore if we collect from a properly pre-laid productive cage for one hour, in another hour most of the embryos will be at the blastoderm stage of embryogenesis, ready to be imaged. In order to image later stages of development, the plate with embryos needs to be appropriately aged in a 25°C incubator.
-
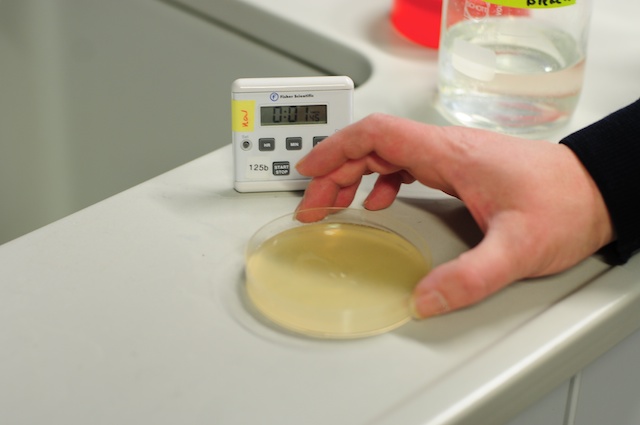
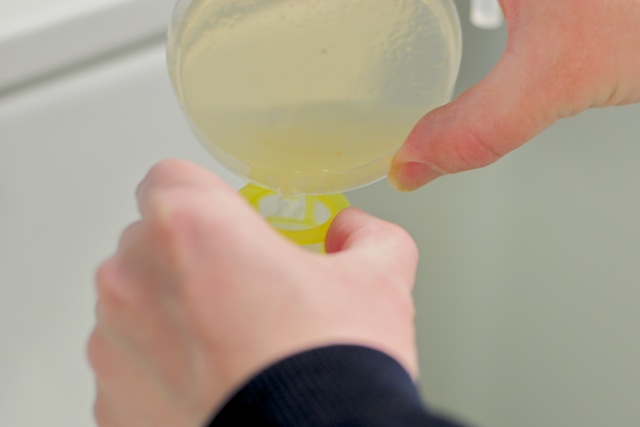
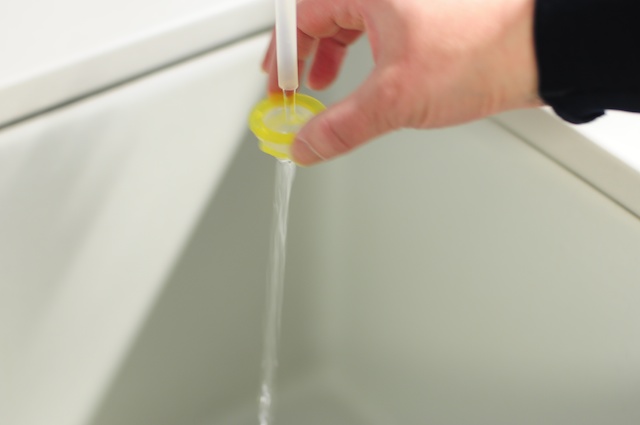
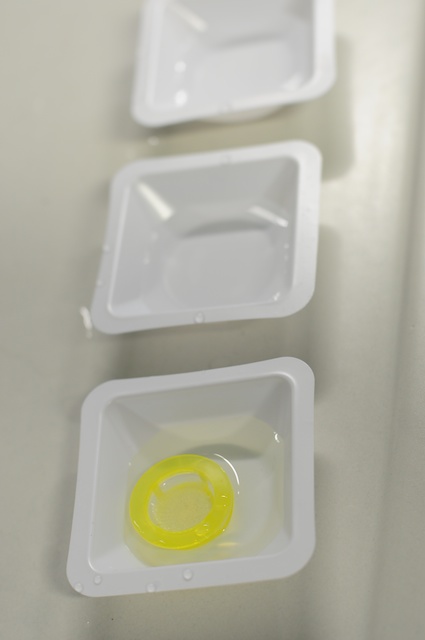
Drosophila embryos are covered with a non-transparent chorion which has to be removed for live imaging. Dechorionation is done by treating the embryo with 50% solution of house hold bleach for exactly two minutes. The easiest way to do this is to pour 50% bleach directly onto the apple juice plate (it is good to remove any dead flies and the excess of yeast in the middle). Then gently scrape the surface of the plate with a fine brush to loosen the embryos. For the next two minutes occasionally gently shake the plate by hand to move the embryos around in the bleach. Finally after the timer goes off, pour the bleach embryo slurry over the kitchen sink into a plastic sieve. Wash the embryos under cold tap water or by spraying with a plastic squirt until the smell of the bleach goes away (2-3 minutes). Finally rinse the embryos by dipping the plastic sieve several times into three white plastic weighing baskets filled with water. Leave the sieve in the last basket.
-
The embryos should be examined under the stereo-microscope. They will be mostly floating on the surface of the water or stuck to the walls of the sieve. If dechorionation was sufficient embryos will look like smooth prolonged ovoids lacking the characteristic dorsal appendages. Embryos can be left in this state for about half an hour, but they should not dry.
Video tutorials
Video tutorial on how to change food for flies in cages
Video tutorial on how to prepare 50% bleach solution
A tutorial on how to dechorionate embryos by bleaching
Images

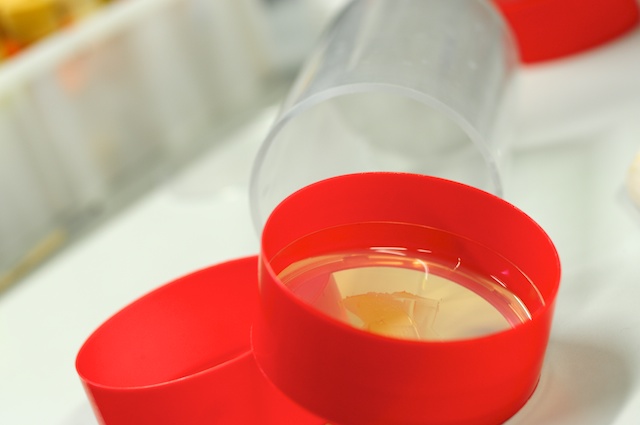
Apple juice plate with yeast paste
Cage with plastic red bottom and apple juice plate inserted
Fly cage with flies
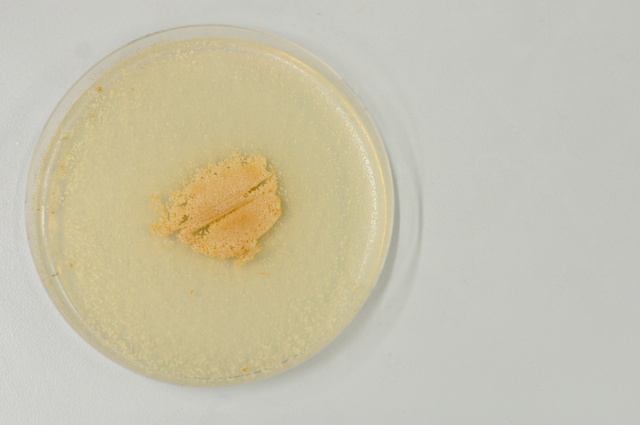
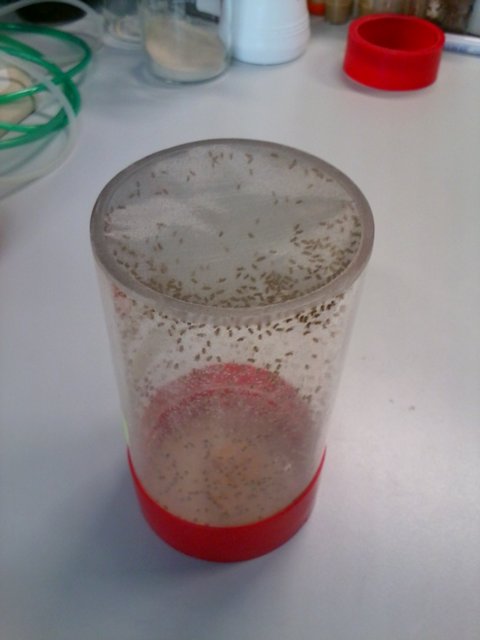
Plate with plenty of embryos
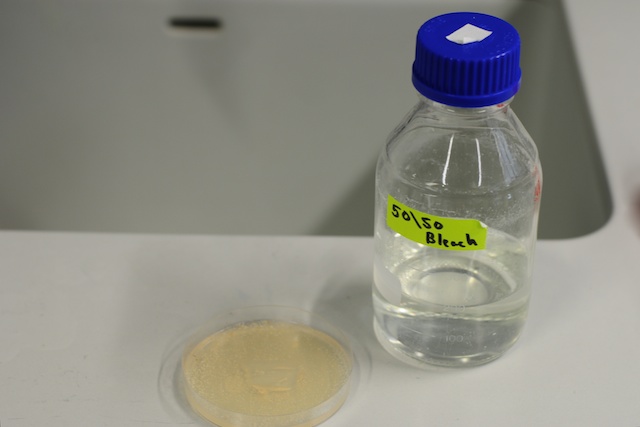
Plate and 50% bleach bottle

Pouring 50% bleach onto embryos

Loosening embryos with a brush
Occasional shaking while dechorionating for 2 minutes

Plastic sieve for embryo collection
Pouring embryo/bleach slurry into the sieve
Post dechorionation embryo washing

Rinsing in weighing tray
Final position after three rinses in weighing trays
Testing for the residual bleach smell
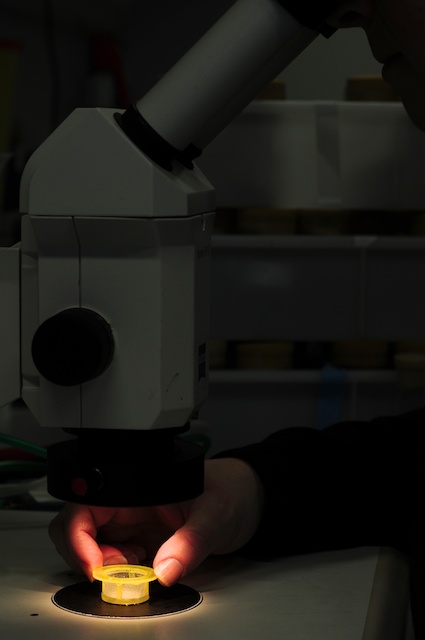
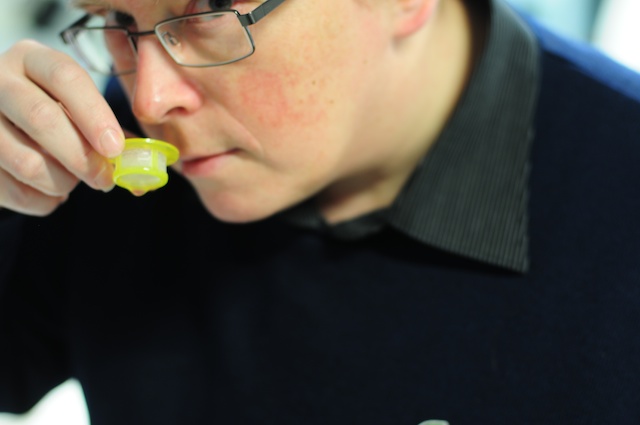
Examining bleach embryos under the stereo-microscope
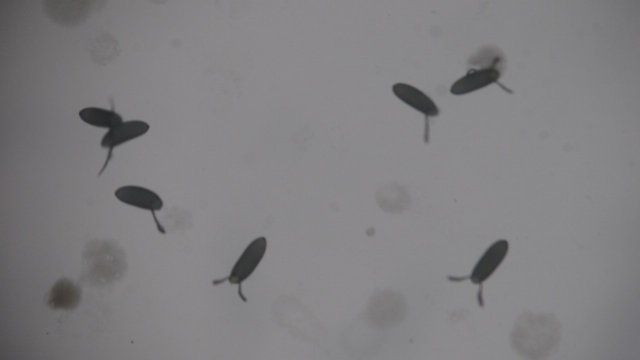
Embryos with dorsal appendages
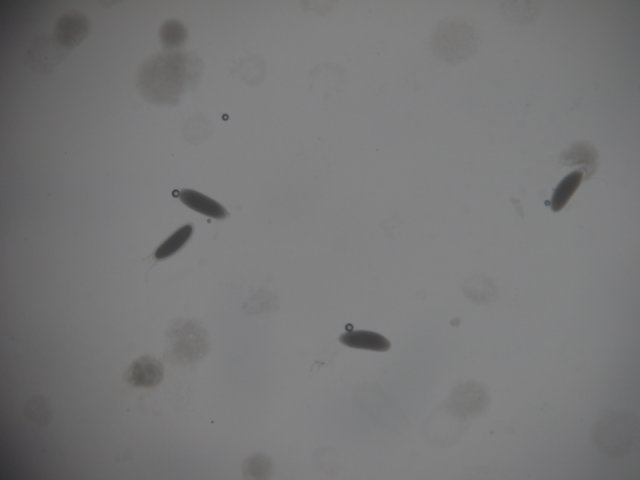
Embryos without dorsal appendages - removed by bleach
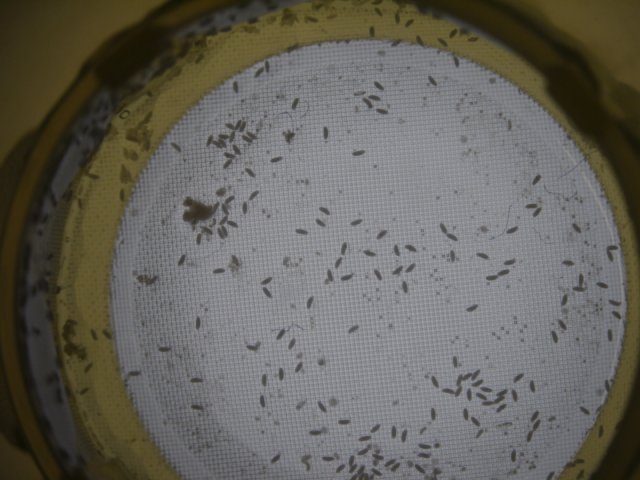
Dechorionated embryos in plastic sieve
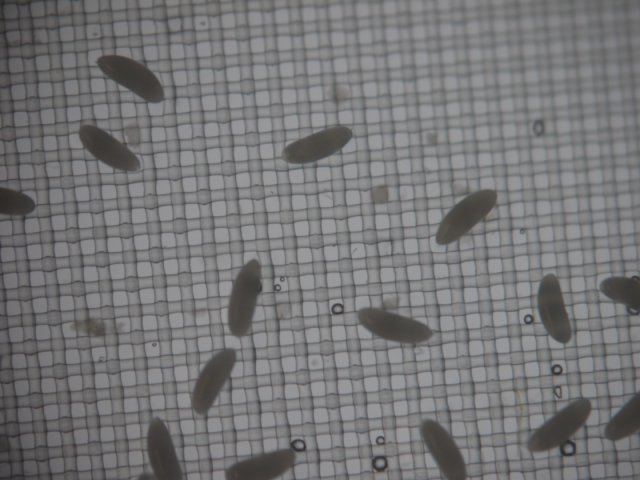
Dechorionated embryos in plastic sieve, closeup, note the absence of dorsal appendages
Preparation of the agarose
1% agarose provides sufficient stiffness for mounting Drosophila embryos while having optical properties almost indistinguishable from water. For our purposes we will make aliquots of 2% agarose stock.
-
To make 2% agarose solution weigh two grams of agarose powder into a blue capped 500ml bottle and add 100ml of water.
-
Swirl the slurry gently, VERY IMPORTANTLY: LOOSEN THE BLUE CAP (otherwise it may explode) and place it in microwave oven. Heat for about 1 minute on maximum setting. Remove the bottle from the microwave (ITS HOT wear thick gloves) swirl it again and give it another about 20-30 seconds, once it starts violently boiling inside the bottle - stop. Now it should be a clear, relatively thick liquid.
-
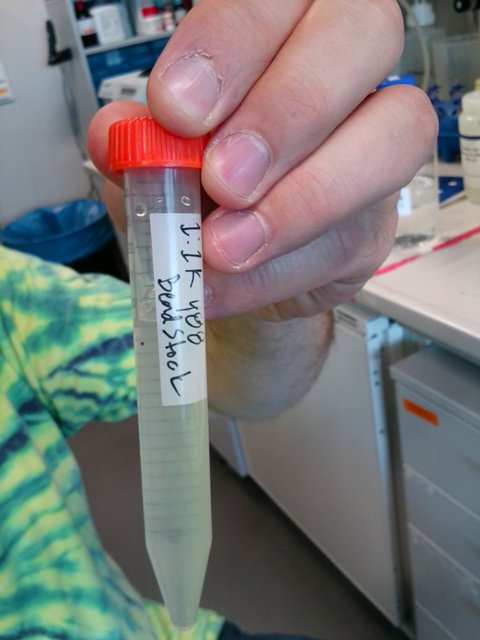
Using a 1000ml Pipetman and a blue tip distribute 1ml of the molten agarose into 100 eppendorf tubes and store in the fridge (at 4C) where it will solidify.
-
Before sample preparation, place the eppendorf tube into a shaking heat block, set to 70C and shaking.
-
After about 20 minutes the agarose will turn liquid again, at this point reduce the temperature of the heat block to 45C.
Drosophila embryos will not survive contact with hot agarose. Therefore we are using a LMP version and keep it close to its phase transition to minimize the heat shock of the embryos.
Preparation of the bead solution
First we need to prepare a working stock solution of beads by diluting the concentrated bead solution 1000 times with PBS. This is done only once and will last for a very long time.
-
Pipet 10 ml of PBS in orange capped 15 ml falcon tube.
-
Vortex on maximum setting the concentrated bead stock for at least 1 minute to disperse the beads.
-
Pipet with P20 and yellow tip 10ul of the concentrate bead stock into the 10ml of PBS, close and vortex again.
-
Store the working bead stock wrapped in aluminium foil at 4C.
Video tutorial on how to prepare the bead solution
working stock solution of fluorescent beads (1:1000)
What beads to use?
What beads to use depends very much on the imaged sample and the emission filters used in the imaging set-up. Generally the beads must be visible but should not be the brightest signal in the image. If your fluorescent signal is very strong you can use beads that emit in the same area of the spectrum as your fluorescent protein (i.e. green 488nm beads combined with GFP). If the signal is however weak use beads that are suboptimal for the emission spectrum of the imaged sample. For instance weak GFP signal should be combined with red beads. The rational is that the beads are very strong and will bleed through to the green channel especially at higher laser powers and when using a long-pass filter (collects all fluorescence above a certain wavelength). For His-YFP we routinely use red fluorescent beads combined with the long-pass filter.
Mounting of the embryos
The idea is to mix the embryos with the bead solution, add agarose and suck the embryos inside a glass capillary.
-
Pipet 500ul of PBST into 1.5ml eppendorf tube using a 1000ul Pipetmen (P1000) with a blue tip.
-
Vortex the working stock solution of beads (1:1000 see above) for 1 minute at the maximum setting to disperse the beads.
-
Pipet 20ul of the working bead stock into the 500ul of PBST and vortex the eppendorf tube for one minute.
The exact amount to beads should be titrated for optimal performance of the registration algorithm. Both too few and too many beads will cause the reconstruction to fail. We suspect that the bead stock solutions used by different labs will be different and so the amounts described here should be considered only a rough guides. See more details on how many beads are optimal in the software section.
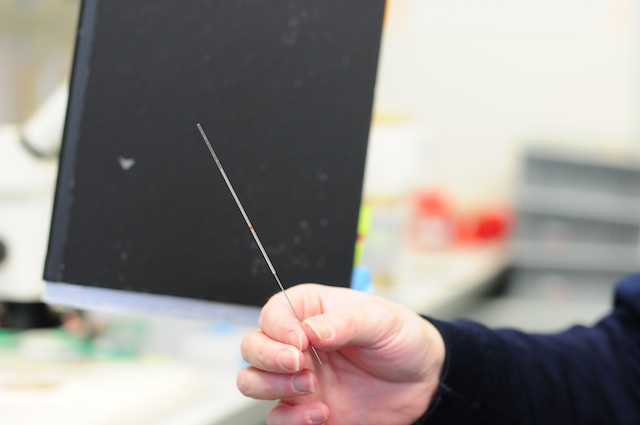
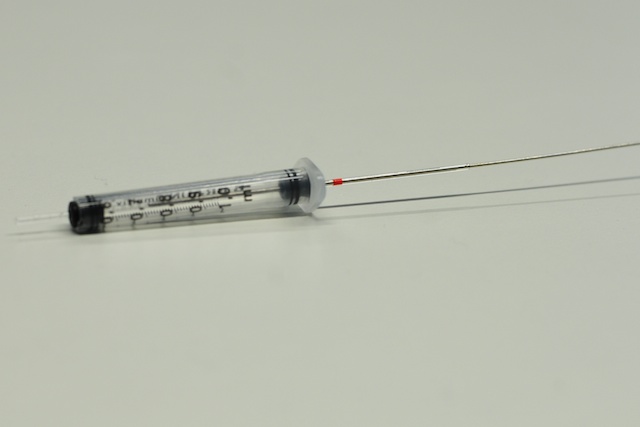
- Insert metal plungers into several glass capillaries so that the tip of the plunger sticks out from the end of the capillary.
For Drosophila embryos we use XXX diameter capillaries and a straight metal plunger. For larger samples special plungers with a plastic tip fitting tightly inside a larger diameter capillary must be used.
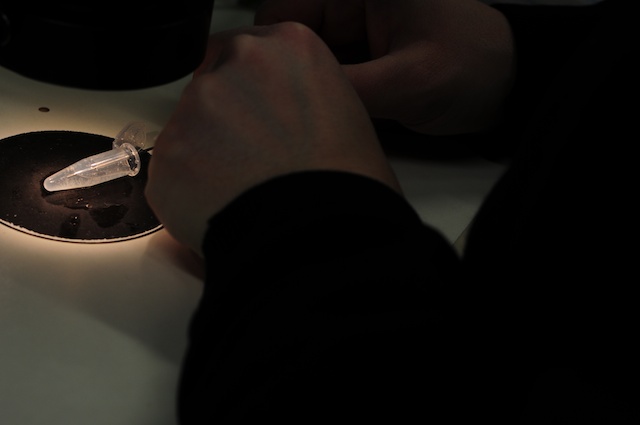
- Pick the freshly bleached embryos from the plastic sieve with a fine wet brush and transfer them to the vortexed bead solution in PBST by dipping the brush in the liquid.
This is best done under the dissecting stereoscope, the embryos tend to stick to the brush. Its easier with an excess of embryos. One should aim for roughly 100-200 embryos - some embryos will stick to the walls (despite the detergent) and so the more the better.
- Remove the 2% agarose solution from the heat block and aspirate 500ul into a P1000 blue tip.
Check that the tip is not hot by touching it with bare hands
-
Add the agarose to the bead solution with embryos (final concentration is 1%) and mix by inverting several times.
-
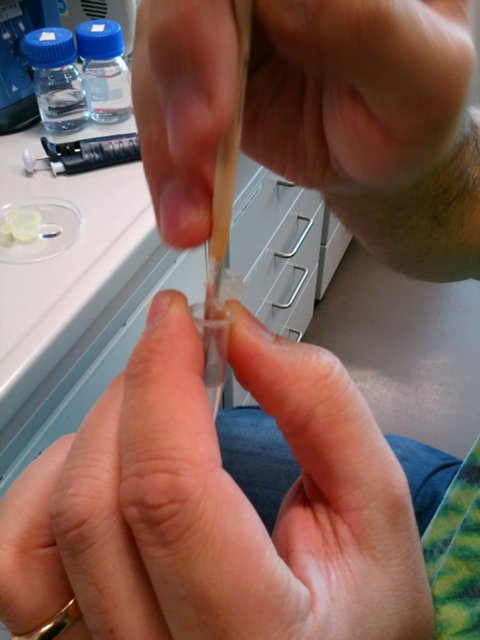
Use the plunger equipped glass capillary to suck the agarose solution with the embryos inside.
This is easier said than done. One has to do it relatively fast because the agarose is quickly solidifying as it was just mixed with the room temperature bead solution. The embryos are tiny, barely visible. Ideally single embryos with their anterior posterior axis aligned with the axis of the capillary should be in the middle of the agarose column. It is somewhat easier to do under the dissecting microscope. Importantly do not make the agarose column too long, the longer it is the more it will shrink and cause drift during imaging. It is better to prepare several capillaries with plungers and put about 5 embryos in each of them. Innovations of this finicky procedure are very welcome!!!
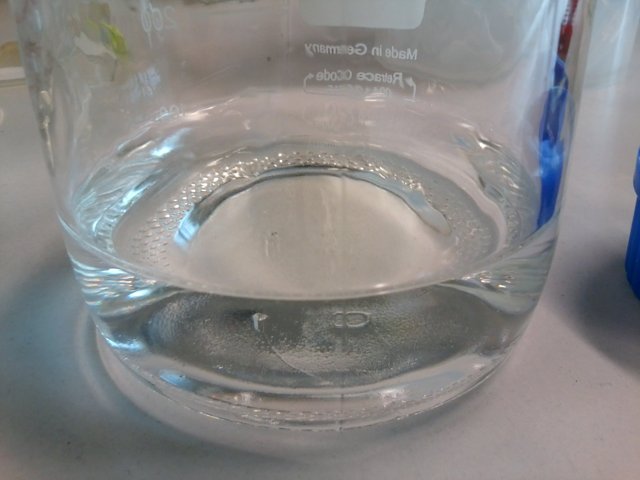
- Let the agarose solidify for about 5 minutes at room temperature and then dip them agarose end first into glass bottle with water.
In this state the embryos will survive for some time. It is the same environment in which they will be imaged in OpenSPIM. Note however that this is by no means a natural environment for Drosophila embryos. They have been dechorionated, moved around with the brush, mixed with warm agarose. Inside the capillary, in agarose, in water their supply of oxygen is limited and so their survival is not guaranteed. We recommend to proceed immediately to imaging after mounting and not rely on aging the embryos under these very unnatural conditions.
Videos
A video tutorial on embryo collection from plastic sieves
A video tutorial on capillaries and plungers
A tutorial on loading the embryos into capillaries without microscope
Video of loading the embryos into glass capillary under the microscope (*sorry, soundtrack is unrelated*)
Images
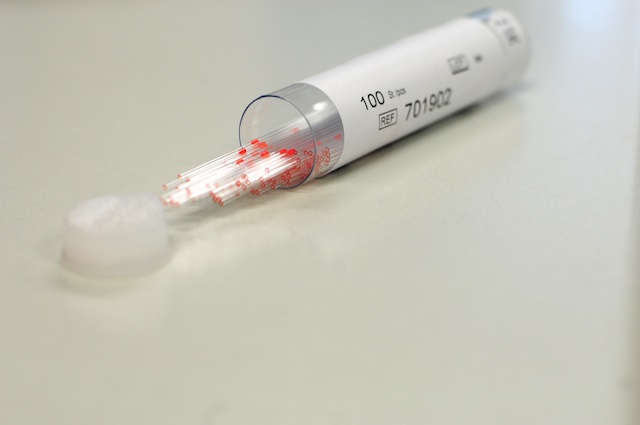
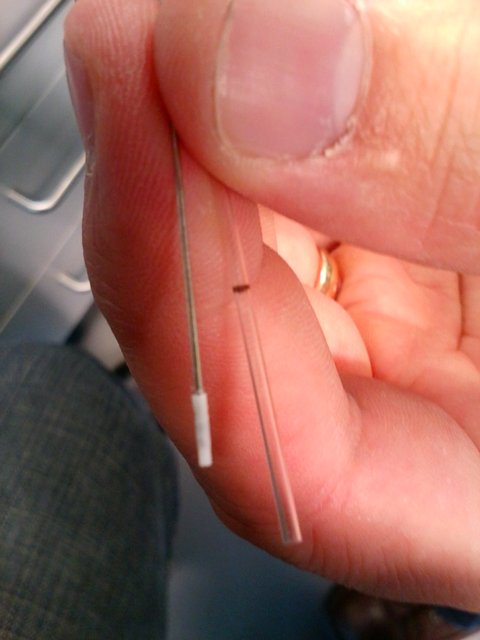
Glass capillaries for Drosophila embryos
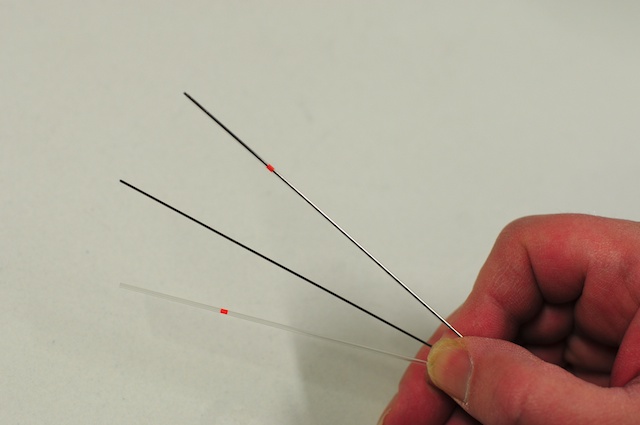
Glass capillaries with full metal plungers

Glass capillary for larger sample
Plunger with plastic tip fit for larger capillary diameter
Picking the bleached embryos from the plastic sieve
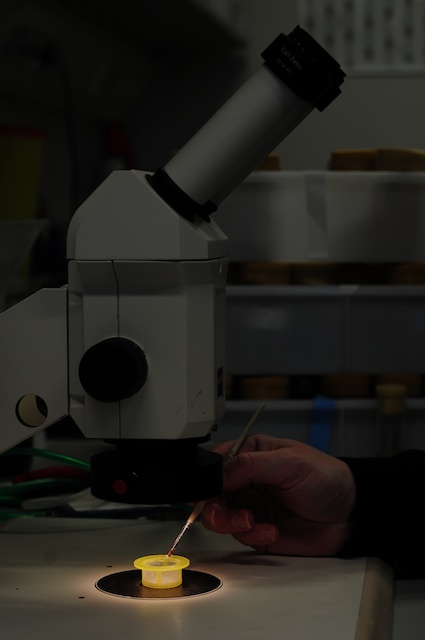
Picking the bleached embryos from the plastic sieve under the microscope
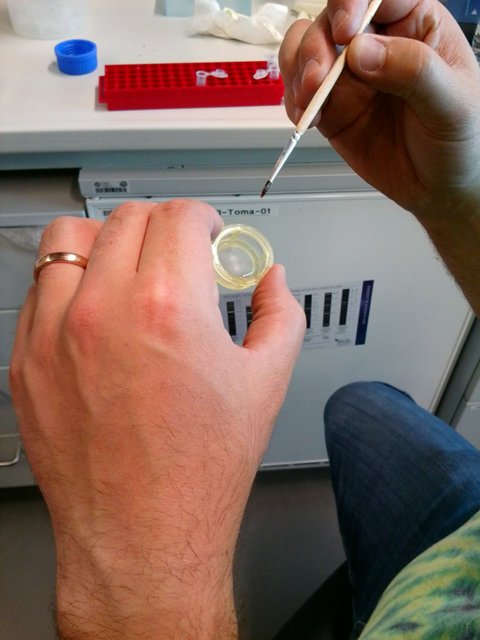
Dipping the embryos in the bead solution
The art of pulling embryos into the capillary with the plunger under the microscope

The art of pulling embryos into the capillary with the plunger
Embryos inside the capillary - the new sample mounting paradigm

Capillaries with embryos dipped in water
OpenSPIM sample holder
Finally, right before imaging mount capillary into the custom made OpenSPIM sample holder. This sample holder epitomises the OpenSPIM principles, it's as simple as it gets.
-
Take a 1ml plastic syringe, remove the plunger and strip the black rubber piece from it (do that with two syringes since we need two of those black rubber pieces).
-
Cut the syringe at the level of 0.5ml with a sharp knife.
-
Punch a hole into the bottom of the two rubber pieces stripped off the syringe plunger.
-
Push the capillary with embryos into the first rubber piece until it reaches just below the orange stripe. Insert this assembly into the syringe as if it were a plunger. Now push the second black rubber piece through the other side of the glass capillary sticking out of the syringe and push it all the way into the opening of the syringe.
-
Adjust the capillary so that it sticks out of the syringe about 1 centimeter, the orange band should be just above the second rubber piece at the other end of the syringe. It is easier to push the capillary through the rubber pieces when they are wet.
The result is an extremely robust OpenSPIM sample holder for just a few euros.
Preparation of the sample holder
Assembly of the sample holder
Inserting capillary into sample holder

The very simple sample holder fashioned from a modified plastic syringe
Capillary with embryos inside the OpenSPIM sample holder